standing before the golden light of a Santorini sunset, the vibrant chaos of a Moroccan market, or the serene majesty of Norwegian fjords. These moments deserve more than just blurry smartphone snapshots. They deserve to be captured with the kind of breathtaking quality that makes your friends stop scrolling and ask, “How did you take that photo?”
Travel photography isn’t just about documenting where you’ve been—it’s about preserving how those places made you feel. It’s about telling visual stories that transport viewers to distant shores and mountain peaks. The good news? You don’t need decades of experience or a suitcase full of expensive gear to shoot travel photos like a professional.
As someone who’s photographed destinations across six continents, I’ve learned that the difference between amateur vacation snapshots and frame-worthy travel photography often comes down to a handful of simple techniques, thoughtful preparation, and knowing how to work with what you have. This guide will transform how you capture your adventures, whether you’re wielding the latest mirrorless camera or simply making the most of your smartphone.
Best Cameras for Travel Photography
The perfect travel camera balances image quality, portability, and versatility. While professional photographers might lug around multiple camera bodies and heavy lenses, most travelers need something that won’t weigh them down or draw unwanted attention.
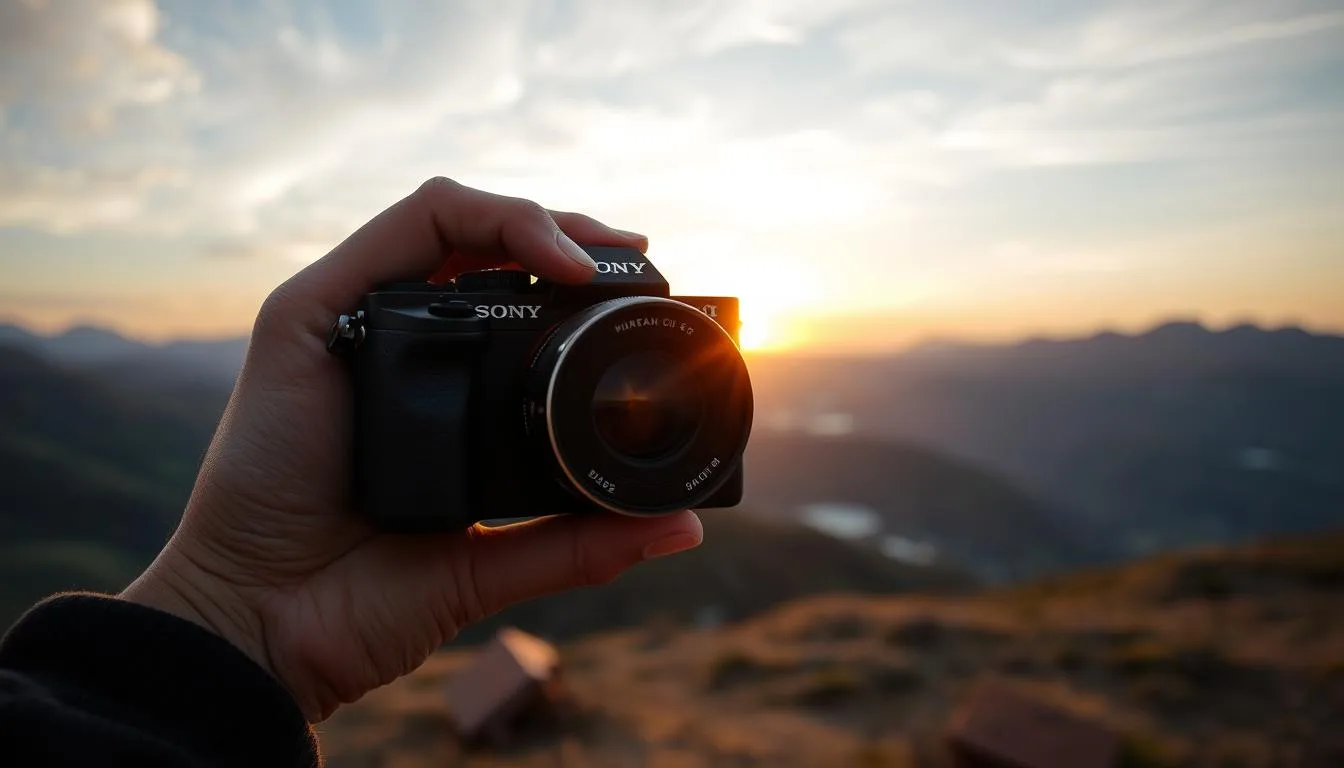
A lightweight mirrorless camera offers the perfect balance of quality and portability for travel photography
Mirrorless vs. DSLR vs. Smartphone
Mirrorless Cameras
Pros: Lightweight, excellent image quality, interchangeable lenses, silent shooting
Best for: Serious travel photographers who want professional quality without the bulk
Top pick: Sony Alpha a6400 (versatile, compact, excellent autofocus)
DSLR Cameras
Pros: Robust build quality, optical viewfinder, extensive lens options, longer battery life
Best for: Photographers who prioritize battery life and don’t mind extra weight
Top pick: Canon EOS 90D (weather-sealed, excellent image quality)
Smartphones
Pros: Always with you, computational photography, instant sharing, no extra gear needed
Best for: Casual photographers or when traveling ultra-light
Top pick: iPhone 14 Pro or Google Pixel 7 Pro (computational photography champions)
Common Beginner Mistakes to Avoid
Free Resource: Camera Comparison Guide
Not sure which camera is right for your travel style? Download our free comparison chart that breaks down the best travel cameras by budget, features, and use case.
Travel Photography Composition Tips
Even the most expensive camera can’t save a poorly composed photo. Understanding a few key composition principles will dramatically improve your travel images, regardless of what equipment you’re using.

Using the rule of thirds places the subject off-center for a more dynamic composition
Essential Composition Techniques
Rule of Thirds
Imagine your frame divided into a 3×3 grid. Placing key elements along these lines or at their intersections creates more balanced, interesting compositions. Most cameras and smartphones have a grid overlay option you can enable.
Try this: Position your horizon along the top or bottom third line rather than cutting your image in half.
Leading Lines
Roads, rivers, railings, or even shadows can guide the viewer’s eye through your image toward your main subject. Look for natural lines in your environment and use them to create depth.
Try this: Use a winding path or staircase to lead the viewer’s eye to a person or landmark in the distance.
Framing
Use elements in your environment to create a natural frame around your subject. Doorways, arches, tree branches, or windows can add context and depth to your images.
Try this: Capture a distant landmark through an archway in Marrakech or frame a mountain peak between two trees.
Foreground Interest
Including elements in the foreground creates depth and scale in landscape photos. This technique transforms flat, postcard-like images into immersive scenes.
Try this: Include colorful flowers, interesting rocks, or local details in the foreground of your landscape shots.
Composition for Instagram
When composing specifically for Instagram, remember that most viewers will see your image on a small screen. This means:
“The difference between a good photo and a great photo often comes down to moving a few steps to the left, right, up or down. Don’t take just one composition—explore the scene from multiple angles.”
Lightweight Travel Camera Setup
The best travel photography setup is one you’ll actually carry with you. An elaborate kit that stays in your hotel room because it’s too heavy doesn’t capture any memories. Here’s how to build a versatile yet portable system.

A complete yet portable travel photography kit that won’t weigh you down
The Three-Lens Strategy
Rather than packing every lens you own, focus on a versatile trio that covers most travel scenarios:
Wide-Angle Zoom (16-35mm)
Perfect for: Landscapes, architecture, interiors, environmental portraits
Why it works: Captures the grandeur of landscapes and the tight spaces of markets or narrow streets
Budget option: Sigma 16-35mm f/3.5-4.5
Standard Zoom (24-70mm)
Perfect for: Everyday scenes, street photography, food, casual portraits
Why it works: The most versatile focal range covering most common scenarios
Budget option: Tamron 28-75mm f/2.8
Telephoto Zoom (70-200mm)
Perfect for: Distant details, wildlife, compressed landscapes, candid portraits
Why it works: Brings distant subjects closer and creates beautiful background compression
Budget option: 70-300mm f/4-5.6 variable aperture lens
Choosing the Right Camera Bag
Your camera bag needs to balance protection, accessibility, and comfort. For travel photography, consider:
The Peak Design Everyday Backpack is a favorite among travel photographers for its customizable interior, side access panels, and weather resistance. For a budget option, the Amazon Basics camera backpack offers surprising quality for the price.
Travel Tripods Worth Their Weight
A tripod is essential for low-light photography, long exposures, and self-portraits. For travel, focus on:
The Manfrotto Befree Advanced Travel Tripod strikes an excellent balance between stability, weight, and price. For ultra-light travel, consider the Joby GorillaPod 5K, which can wrap around railings and tree branches.
Pro Tip: Never check your camera gear! Always keep it in your carry-on luggage to prevent damage or theft. If space is tight, wear your camera around your neck and put heavier lenses in your pockets during boarding.
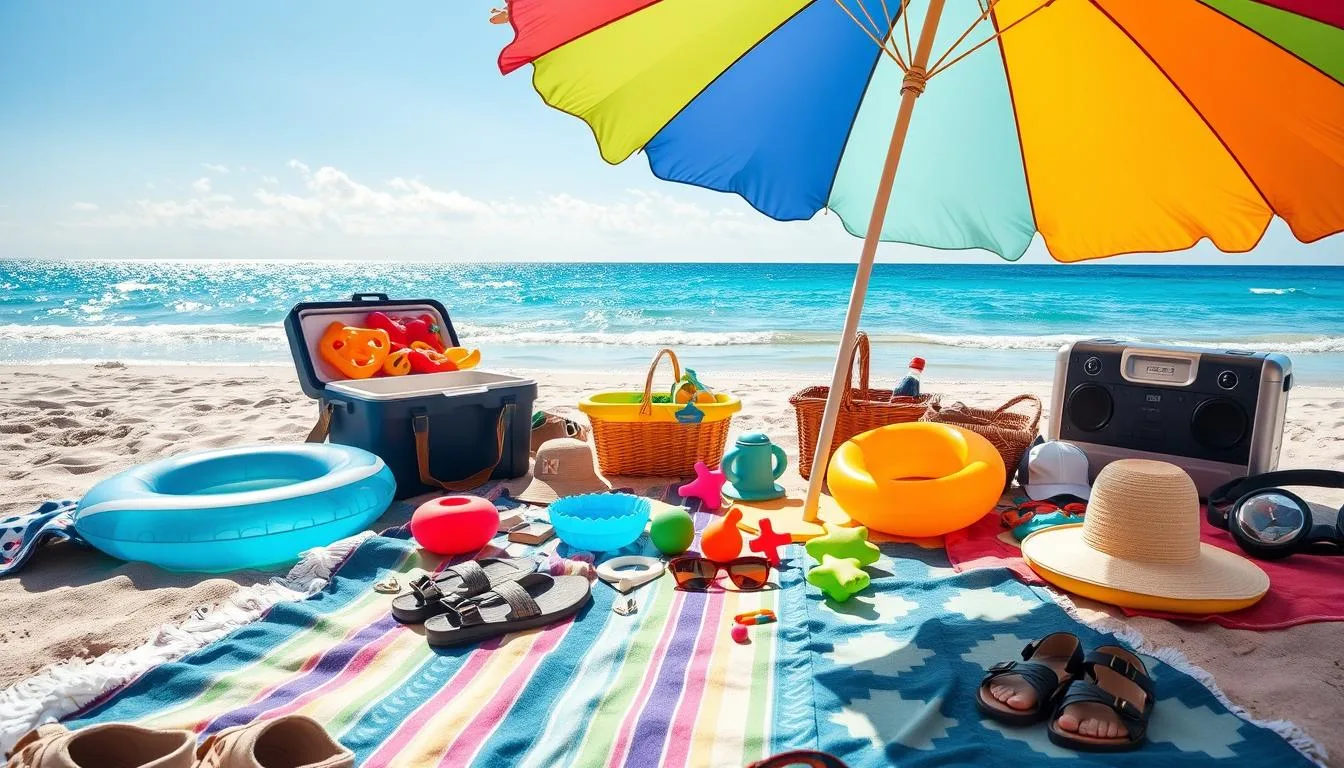
Must-Have Travel Photography Accessories
Beyond your camera and lenses, a few carefully chosen accessories can dramatically expand your creative possibilities without weighing down your bag.

Essential accessories that enhance your travel photography capabilities
Filters That Transform Your Images
Polarizing Filter
Perhaps the most useful filter for travel photography, a circular polarizer reduces reflections on water and glass, enhances colors, and increases contrast in skies. It’s like wearing polarized sunglasses for your camera.
Best for: Landscapes with water or sky, reducing glare, enhancing foliage
Neutral Density (ND) Filters
These filters reduce the amount of light entering your lens, allowing for longer exposures even in bright conditions. Perfect for creating silky waterfall effects or motion blur in crowded tourist spots.
Best for: Long exposures, waterfall photography, creative motion effects
Memory Management
Nothing is more heartbreaking than losing your travel photos. Implement a robust memory management system:
Power Solutions
Running out of battery power can mean missing the perfect shot. Stay powered up with:
Cleaning Kit
Dust, fingerprints, and moisture can ruin your images. A basic cleaning kit should include:
Travel Photography Accessories Checklist
Never forget an essential accessory again! Download our comprehensive travel photography accessories checklist, complete with recommendations for every budget.
Travel Photography Gear Checklist
Preparing for a photography-focused trip requires careful planning to ensure you have everything you need without overpacking. Use this comprehensive checklist to prepare for your next adventure.

Using a checklist ensures you pack all essential gear without overpacking
Essential Gear
Optional Gear (Based on Your Style)
Pre-Trip Preparation
Gear Testing Tip: Always test new equipment before your trip. Take test shots in various conditions, practice changing lenses quickly, and make sure you understand all the features you might need while traveling.
Creative Travel Photo Ideas
Moving beyond standard tourist snapshots requires creativity and intention. These techniques will help you capture unique images that tell compelling stories about your travels.

Silhouettes against colorful skies create dramatic, memorable travel images
Beyond the Postcard Shot
The Human Element
Including people in your travel photos adds scale, emotion, and storytelling. Try these approaches:
- Silhouettes against dramatic skies
- A person gazing at the view (from behind)
- Local people engaged in daily activities
- Hands creating local crafts or preparing food
Creative Techniques
Experiment with these techniques to create unique perspectives:
- Reflections in water, windows, or sunglasses
- Forced perspective (playing with scale)
- Panning to capture motion blur
- Intentional camera movement for abstract effects
Detail Shots
Close-up images that capture the essence of a place:
- Local food and ingredients
- Architectural details and textures
- Traditional crafts and artifacts
- Flora and fauna unique to the region
Cultural Photography
Capturing authentic cultural moments requires respect, patience, and often, permission. When photographing local cultures:

Detail shots of local crafts tell powerful stories about cultural traditions
Night and Low-Light Photography
Some of the most magical travel moments happen after dark. Capture them with these techniques:
“Don’t shoot what it looks like. Shoot what it feels like.”
Instagrammable Travel Photo Spots
While truly unique photos often come from unexpected places, knowing where to find reliably photogenic locations can help you plan an efficient photography itinerary.

Arriving at popular spots during golden hour helps avoid crowds and capture the best light
Finding Hidden Gems
Beyond the obvious landmarks, discover photogenic locations with these resources:
Iconic Locations Worth the Hype
Europe
- Hallstatt, Austria (early morning reflections)
- Santorini blue domes, Greece (sunset)
- Lavender fields of Provence, France (June-July)
- Pena Palace, Sintra, Portugal (first thing in morning)
Asia
- Angkor Wat, Cambodia (sunrise through the gates)
- Fushimi Inari Shrine, Japan (arrive before 7am)
- Jaipur’s Hawa Mahal, India (morning light)
- Bali’s Tegalalang Rice Terraces (early morning)
Americas
- Antelope Canyon, Arizona (midday light beams)
- Machu Picchu, Peru (first entry or last exit)
- Cartagena’s colorful streets, Colombia (early morning)
- Moraine Lake, Canada (sunrise reflections)
Avoiding the Crowds
The secret to capturing iconic locations without hordes of tourists:
Important: Always respect local regulations, private property, and environmental protections when seeking the perfect photo. No Instagram shot is worth damaging cultural sites or natural environments.
How to Take Better Travel Photos
Beyond gear and technical skills, the best travel photographers develop habits and approaches that consistently yield exceptional images. Incorporate these practices into your photography routine.

Waking up early for golden hour light is often the difference between good and exceptional travel photos
Master the Light
Light is the single most important element in photography. Learn to work with it:
Pre-Trip Research
Preparation dramatically increases your chances of capturing exceptional images:
Post-Processing Workflow
Editing is an essential part of modern photography. Develop a consistent workflow:

Thoughtful editing enhances the mood and impact of your travel images
Common Mistakes to Avoid
Free Lightroom Presets for Travel Photography
Jump-start your editing workflow with our collection of 5 free Lightroom presets specifically designed for travel photography. From vibrant street scenes to moody landscapes, these presets will help you achieve professional results with one click.
Capturing Your Travel Story
Remember that the best travel photography isn’t just about technical perfection—it’s about capturing the feeling of a place and the emotions of your journey. Your unique perspective is what will make your images stand out.

The true value of travel photography is preserving memories that transport you back to those special moments
Start with the techniques in this guide, but don’t be afraid to experiment and develop your own style. The most compelling travel photographers don’t just document places—they share their unique way of seeing the world.
Whether you’re shooting with a professional camera or your smartphone, the principles of good composition, beautiful light, and storytelling remain the same. Focus on improving these fundamentals, and your technical skills will naturally evolve alongside them.
Most importantly, remember to occasionally put the camera down and fully experience the places you visit. The best travel photographers balance capturing moments with living them.
What travel photography techniques have you tried? Which destinations are on your photography bucket list? Share your experiences and questions in the comments below!
Complete Travel Photography Resource Pack
Take your travel photography to the next level with our comprehensive resource pack, including gear checklists, composition guides, Lightroom presets, and location planning templates.

Join the discussion One Comment